1. Transfer a URL from a Kiosk to another Device with a QR-Code
This article describes how to generate a QR code from the web page displayed in the browser by using a script.
The QR code can e.g. be used to transfer the URL of the displayed web page to a smartphone.
Note: This article only works with SiteKiosk Online on Windows and Android clients.
2. Project Set Up
1. Start with a template empty and generate a browser with a webpage element.
2. Double click on the webpage element and add the start URL: https://www.sitekiosk.com/
3. Then create an image element next to the web page element.
Note: The image element must not overlap with the web page element, otherwise it will not be displayed.

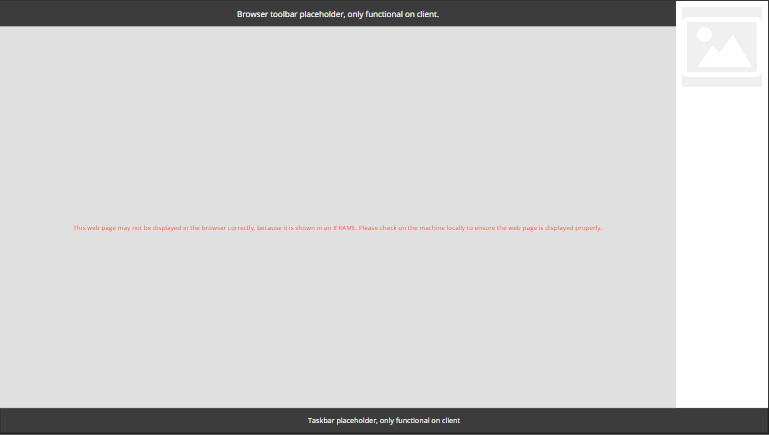
Fig.1 – Webpage element and Image element
3. Adapt Image Element for the QR Code Display
1. Now the image element must be adapted for the QR code display.
2. Start Expert Mode by entering &expert in the URL address line and then pressing Enter to reload the project.

Fig.1 – Expert Mode
3. Double-click on the image to open the image’s properties dialog and press the Expert Edit button at the bottom left.

Fig.1 – Add Property: qrCodeData
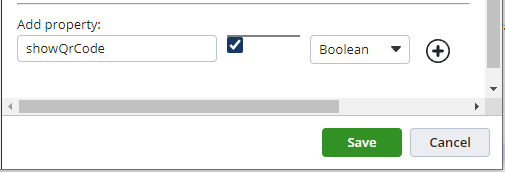
4. Go down in the properties dialog and add under Add property the setting qrCodeData with the value https://www.sitekiosk.com/ and the type auto.
5. Press the Plus button to add the setting.

Fig.1 – Add Property: ShowQRCode
6. Go to the expert setting src and add setting ,“fileName“: “” after the entry “fillColor“: “rgb(0,0,0)“ value that it looks in the end like this:
{
  "fillColor": "rgb(0,0,0)",
  "fileName": ""
{
7. Save the settings.
4. QR-Code tagging
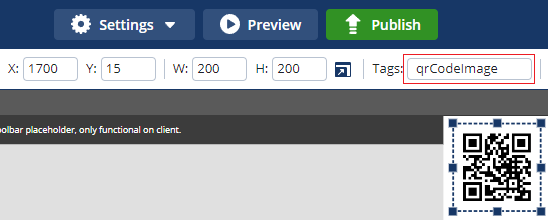
1. Select the image and assign the tag name qrCodeImage in the menu bar.

Fig.1 – QRCodeImage
2. Select the web page element and assign the tag name browser in the menu bar.
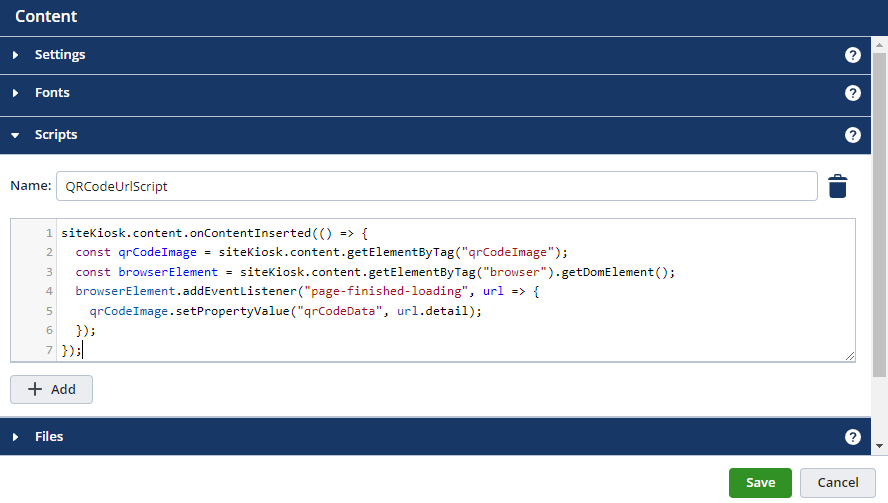
3. Go to Settings – Content – Scripts and press the Add button.
4. Give the script the name QRCodeUrlScript and add the following script lines:
sitekiosk.content.onContentInserted(() => {
    const qrCodeImage = siteKiosk.content.getElementByTag("qrCodeImage");
    const browserElement = siteKiosk.content.getElementByTag("browser").getDomElement();
    browserElement.addEventListener("page-finished-loading", url => {
        qrCodeImage.setPropertyValue("qrCodeData", url.detail);
    });
});

Fig.1 – QR-Code URL-Script
5. Publish
1. Save and publish the project.
2. After changing the URL in the webpage element, the displayed QR code will be automatically adjusted.
