
1. Introduction
This article describes how to create a button that shows the user the device name of the client he or she is using in an alert dialog. It also describes how to display the device name in a text element.
This entry only works with SiteKiosk Online for Windows and Android clients
2. Alert Dialog
1. Create a new project using the Empty template
2. Add a text element using the New button
3. Active the expert mode: insert &expert at the end of the URL address and press Enter to reload the project.

Fig.1 – Expert-Mode
4. Double click on the text element to open the properties dialog
5. Press the Expert Edit button at the bottom left
6. Go down in the Expert section and enter triggerActions in the Add properties edit box.
7. Select JSON Object from the dropdown menu on the right and then add the following lines in the box to the left of it:
  "pressed": {

    "actions": [

      {

        "type": "executeScript",

        "script": "alert(siteKiosk.remote.blackboard.getValue('StC.MachineInfo.Name')?.value)"

      }

    ]

  }

}
8. Press the plus button to add the setting.
9. Press Save to save the settings you have set.

Fig.2 – Select JSON Object and enter script
11. Click on the text element to test the dialog
3.3. Add machine name to a text element
1. Create a new text element
2. Double click to open the properties dialog of the text element
3. Write {$machineName} in the text element
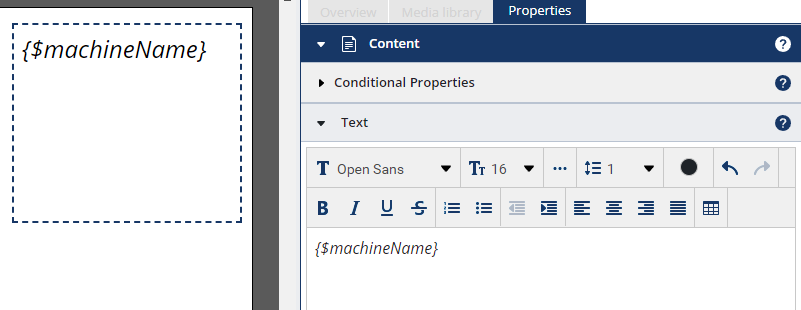
Fig.3 – Add property
4. Press the Expert Edit button at the bottom left.
5. Go down in the Expert area and enter onActivated in the edit box Add properties
6. Select JSON Object from the dropdown menu on the right
7. Enter the following lines in the box to the left:
{

  "takeFromTriggerActions": true

}

Fig.4 – Add property: onActivated
8. Press the plus button to add the setting
9. Enter in the edit box of Add properties: triggerActions
10. Select JSON Object from the dropdown menu on the right
11. Enter the following lines in the box to the left:
{
  "pressed": {
    "actions": [
      {
        "type": "executeScript",
        "script": "const id = this.element.id;const element = siteKiosk.content.getElementByName(id);const machineName = siteKiosk?.remote?.blackboard?.getValue('StC.MachineInfo.Name')?.value || 'unknown';element.replacePropertyPlaceholders('text', { machineName });"
      }
    ]
  }
}

Fig.5 – Added Scriptlines
12. Press the plus button to add the setting.
13. Press Save to save the settings you have set.
Finally: Publish the project to verify the client’s name displays correctly in the text element.